Inpirational
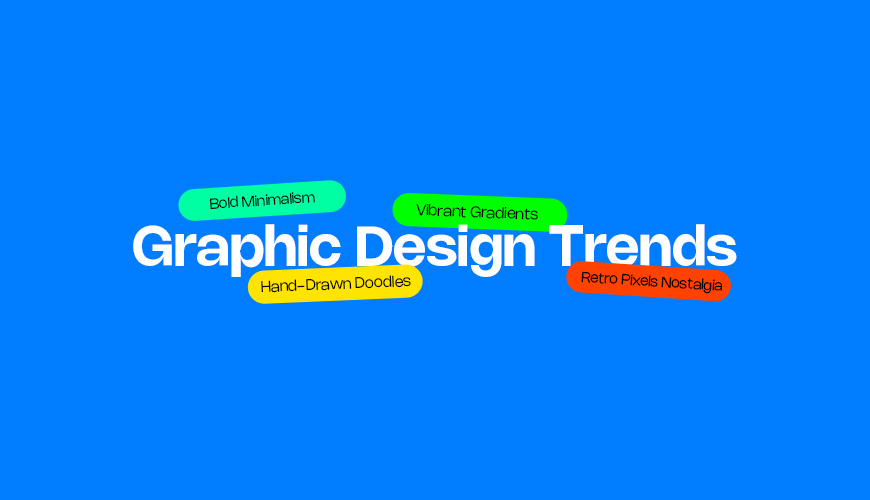
The 5 Best Graphic Design Trends to Apply Today
Read More
/24 Jul 2025
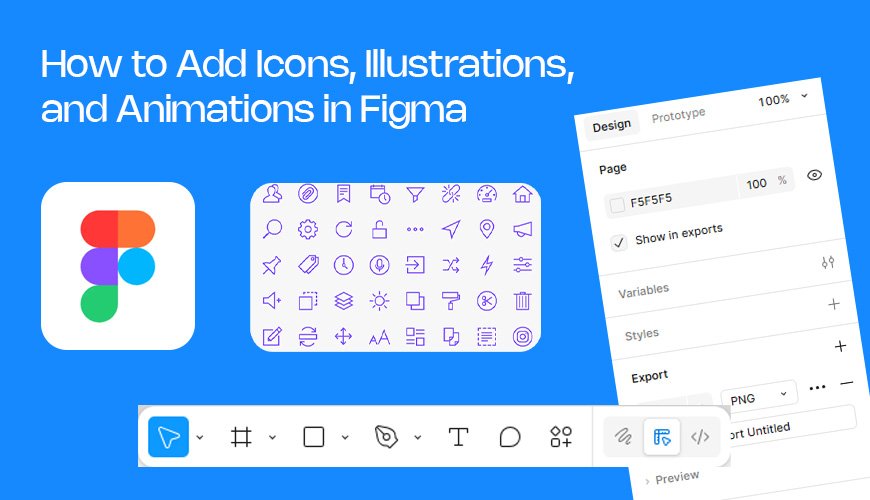
Figma is a popular tool for designing websites and apps. It helps you create a visual plan for your project. A great design often needs more than just text and shapes. You need icons, illustrations, and even moving parts.
Using these design elements makes your projects look better. They help explain ideas to users. This guide will show you how to add all these things to your Figma projects. We will use a helpful tool called a plugin.
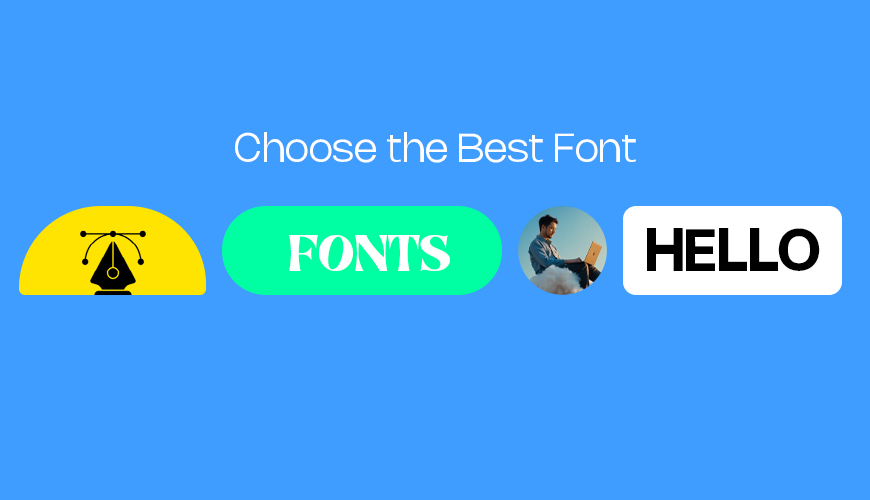
Icons are simple pictures that stand for an idea. A good icon is easy to understand. Using the plugin makes adding them very simple.
Once you have an icon on your page, you can change its color. This is easy to do.
Click on the icon to select it.
Look at the right side of the screen. This is the properties panel.
Find the "Fill" section. It shows the current color of the icon.
Click on the color box.
Choose a new color from the color picker.
The icon's color will change instantly. This helps you match it to your design's colors.
You can also add a line, or "stroke," to an icon. A stroke is a line around the shape.
Select the icon on your canvas.
In the right-side properties panel, find the "Stroke" section.
Click the plus (+) sign next to "Stroke."
A new line will appear. You can change its color and thickness.
This adds another layer of design to your icons.
Illustrations are more detailed drawings. Vector illustrations are special. They do not get blurry when you change their size. This is great for designs that need to work on different screens.
Here is how to add them with the IconScout plugin:
Open the IconScout plugin again.
Type a topic in the search bar. Try "nature."
Look for the "Illustrations" tab in the search results. Click on it.
You will see many different drawings.
Click on the one you like.
The illustration will appear on your canvas.
Because these are vector illustrations, you can edit them. You can change shapes and details inside the illustration itself.
Click on the illustration on your page.
Double-click it. This will open the illustration for editing.
Now you can click on individual shapes inside the illustration.
You can move them, resize them, or delete them.
You can also change the colors of parts of the illustration.
Double-click the illustration to enter editing mode.
Click on a part of the illustration you want to change, like a tree or a person's shirt.
Go to the "Fill" section in the right-side panel.
Change the color.
This lets you make the illustration match your design's color palette.
3D illustrations look like real objects. They have depth and shadows. They can make your design look modern.
Open the plugin.
Type a topic in the search bar, such as "computer."
Click on the "3D" tab.
Select a 3D illustration and click on it.
The 3D item will be added to your design.
Animations are moving pictures. They can make a design more fun and engaging. Lottie animations are a popular type because they are lightweight. They won't make your design slow.
The animation will be added to your design. You may need to use another plugin to see it move inside Figma. The LottieFiles plugin is a good choice for this.
Now you know how to add all kinds of visual assets to Figma. You can use icons for clarity. You can use illustrations for a unique look. You can use 3D assets and animations to make your designs pop. These steps will help you create better projects